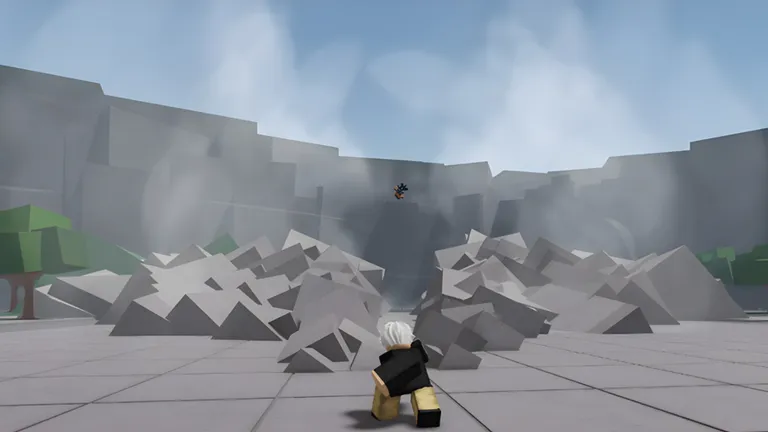
- Slayer 2 dungeon guide: Timed instanced dungeons drop exclusive moves, cosmetics, and currency.
- Party first: Dungeon end-bosses are tuned for groups; solo attempts are high-risk.
- Best styles: Thunder Breathing and String BDA dominate dungeon clears.
- Preparation: Full moveset, upgraded weapon, and stamina management are required.
- Location: Dungeon entrances are map-marked across every region.
Dungeon Basics: What You Need to Know
Dungeons in Slayer 2 are timed instanced encounters scattered across the world map. Each entrance point is map-marked, and once your party enters, you face waves of enemies leading to a dungeon end-boss. Clearing the run rewards exclusive cosmetics, move unlocks, and large currency payouts that cannot be farmed anywhere else in the game.
Unlike open-world bosses, dungeons have a timer, which means efficient mob clearing matters as much as the boss fight itself. Players who wander or fight under-leveled routinely run out the clock before reaching the final room.
Do not attempt dungeons until you have unlocked your full moveset and upgraded your weapon. Players who enter with partial skill kits almost always fail the timer or die to the end-boss.
Dungeon vs. Open-World Bossing:
| Feature | Dungeon | Open-World Boss |
|---|---|---|
| Format | Timed instanced run | Persistent world spawn |
| Party size | Group recommended | Solo possible at high level |
| Rewards | Exclusive cosmetics, moves, currency | Move unlocks, gear, currency |
| Respawns | Re-runnable per instance | Timed world respawn |
| Difficulty | Scaled to end-boss tier | Varies by region |
Always accept any active quests before entering a dungeon. Quest rewards stack on top of dungeon clear rewards for significantly more XP per run.
Best Loadouts for Dungeon Clears
Your build determines your dungeon clear speed more than your raw level. Area damage styles shred mob waves, while burst-damage styles excel against the end-boss when the timer is tight.
Thunder Breathing
- S-Tier burst combos
- Fastest dash mobility in the game
- Thunderclap and Flash melts bosses
- PVP favorite and dungeon monster
Wind Breathing
- Strong area coverage
- Dust Whirlwind Cutter clears waves fast
- Excellent chip damage on groups
- Best pure farming style
String BDA
- High sustained damage
- String cage controls mob lanes
- Reliable combo starters on bosses
- Top pick for Demon players
Dungeon Viability by Build:
| Build | Wave Clear | Boss Damage | Mobility | Overall |
|---|---|---|---|---|
| Thunder Breathing | ★★★★ | ★★★★★ | ★★★★★ | Excellent |
| Water Breathing | ★★★★ | ★★★★ | ★★★ | Good |
| Wind Breathing | ★★★★★ | ★★★ | ★★★ | Good |
| Mist Breathing | ★★★ | ★★★ | ★★★★ | Situational |
| Insect Breathing | ★★ | ★★★ | ★★★ | Weak |
| String BDA | ★★★★ | ★★★★★ | ★★★ | Excellent |
| Temari Ball BDA | ★★★★ | ★★★ | ★★★ | Good |
Rare and above clans that boost sword damage or breathing regeneration noticeably speed up dungeon clears. If your clan passive matches your Breathing Style, keep it — re-rolling for cosmetics is a waste of spins.
Step-by-Step Dungeon Run
Form Your Party
Recruit 2-4 players before entering. A balanced mix of one area-damage farmer, one burst-damage boss killer, and at least one player with reliable block and dash skills covers every encounter. Higher-level players can carry first clears.
Travel to the Entrance
Dungeon entrance points are marked across the map, reachable through the fast-travel system. Unlock fast travel points by exploring each region first so you can return quickly for re-runs.
Clear Waves Efficiently
Group mobs together and use area moves like Dust Whirlwind Cutter or string barrages. Do not chase individual enemies — the timer punishes slow wave clears more than anything else.
Manage Stamina Before the Boss Room
Block (F) and dash (Q) drain stamina, and exhausted players cannot defend themselves. Pause at the boss door, let stamina refill, and assign combo order so players do not overlap their burst windows.
Defeat the End-Boss and Claim Rewards
Wait out the boss's heavy wind-up attacks, punish recovery frames with your strongest combos, and keep one player ready to dash-rescue anyone caught in area attacks. Completion grants exclusive cosmetics, moves, and currency.
Dungeon end-bosses telegraph heavy attacks with long wind-ups. Blocking through them and countering during recovery is safer than trading hits, especially on your first clear of a new dungeon.
Dungeon Locations & Reward Table
Dungeon entrances sit across every major region, and the surrounding zone difficulty tells you what to expect inside. Never enter a dungeon in a zone above your progression level.
| Location | Zone Tier | Nearby Region | Recommended Level | Key Drops |
|---|---|---|---|---|
| Starting Village outskirts | Low | Kiribating | Early | Starter currency, basic gear |
| Zapiwara Mountain | Mid | Snowy training region | Mid | Move unlocks, mid-game gear |
| Butterfly Mansion area | Mid | Story hub | Mid | Quest rewards, progression unlocks |
| Demon Territory / Swamp | High | Elite demon zone | Late | Rare moves, late-game upgrades |
| Map-marked dungeon entrances | Varies | All regions | Varies | Exclusive cosmetics, moves, currency |
The Demon Territory and Swamp dungeons are endgame content. The elite demons and rare world spawns surrounding the entrances will attack under-leveled players before they even reach the door.
Demon players using Blood Demon Arts must plan routes carefully in sunlit zones. Sunlight weakness turns an easy approach into a health-draining sprint.
Pre-Run Checklist
Run through this checklist every time before entering a dungeon. Each item directly affects your odds of clearing within the timer.
Dungeon Readiness:
- Full moveset unlocked for your Breathing Style or BDA
- Weapon upgraded to current progression tier
- Party of 2-4 players formed with assigned roles
- Active quests accepted before entry
- Stamina and breathing management practiced (block F, dash Q)
FAQ
Q: Can I solo a Slayer 2 dungeon?
Solo clears are possible at high levels with top-tier builds like Thunder Breathing or String BDA, but dungeons are tuned for groups. The timer and end-boss damage make solo runs inefficient compared to party clears.
Q: What is the best build for this Slayer 2 dungeon guide?
Thunder Breathing is the strongest overall pick for dungeon runs thanks to its burst combos and unmatched dash mobility. String BDA is the best Demon-side option, offering sustained damage and reliable combo starters on end-bosses.
Q: Do dungeon rewards reset if I fail the timer?
If the timer runs out or your party wipes, the run fails and rewards are not granted. You can re-enter the dungeon instance and attempt it again with your party.
Q: Where are dungeon entrances located?
Dungeon entrance points are map-marked across all major regions, from the Starting Village outskirts to the high-level Demon Territory and Swamp. Unlock fast-travel points first so you can return quickly for re-runs.